If you have ever opened Photos, scrolled back three years, and immediately decided this was a problem for Future You, fair enough. A big camera roll is not one job. It is a mix of housekeeping, filing, and a surprising number of tiny emotional decisions.
The useful trick is to separate those jobs. First, clean out the obvious clutter. Then build a very small amount of structure. After that, keep things under control a day at a time. It sounds almost too basic. That is kind of the point.
How to organize photos on iPhone
- Merge the duplicates Apple has already found.
- Clear disposable screenshots and screen recordings.
- Use Favorites for the photos you would actually show someone.
- Create a few broad albums—not a folder system you have to babysit.
- Review new photos in tiny sessions so the mess stops growing.
You can do the initial setup in about 30 minutes. The ongoing part should take a few minutes, not a Sunday afternoon.
Your first 30 minutes, already planned
Set a timer if that helps. The point is to leave with a working system, not to finish the entire camera roll.
Confirm that irreplaceable originals exist somewhere besides the synced Photos library.
Take the easy storage win in Collections → Utilities → Duplicates.
Remove expired codes, accidental captures, and references you no longer need.
Use albums only for groups you expect to browse again.
Pin Favorites and your most-used collections, then stop. Really.
Begin with the decisions that require almost no thought
Do not begin by scrolling to the first photo you ever took. That is how an organizing session turns into a long visit to 2018.
Start in Photos → Collections → Utilities. Two collections are worth checking first:
For the built-in cleanup tool, read our step-by-step guide to deleting duplicate photos with Apple Photos.
Clear screenshots (with a little restraint)
Next, open Screenshots. Old QR codes, delivery confirmations, weather forecasts from last February—easy. Keep tickets, receipts, or reference images you still need, but give those a home outside the camera roll when possible.
Create fewer albums than you think you need
Albums are useful. Too many albums are just a second messy library wearing name tags.
On iOS 26, go to Photos → Collections → Albums, tap the add button, then choose New Album. Give it a name, add photos, choose a key photo, and tap Create. Adding an image to an album does not move it or make another full copy. The image still lives in your library and can appear in more than one album.
A good starter setup might be:
- Family highlights for the photographs you return to often
- Trips for vacations and weekends away
- Projects for renovation ideas, recipes, or visual references
- To print for photos that should eventually leave the phone
Maybe you need three albums. Maybe six. You probably do not need one for every month, person, place, and type of sandwich.
Pin the collections you actually use
In Collections, edit the Pinned section and add the albums or collections you open most. Favorites, Screenshots, your current trip, your kids—whatever earns the shortcut. You can reorder the pins later. This turns the top of Photos into a small, useful dashboard instead of a tour of everything Apple can categorize.
Use Favorites as your front door
Tap the heart on any photo you love. That is it. Yet Favorites may be the most useful organizing feature on the phone.
An album answers, “Where does this belong?” A favorite answers the much more human question: “Would I want to see this again?” Marking the best photo from a birthday, the one landscape that really worked, or the blurry-but-perfect laugh gives you a highlight reel that improves over time.
Be a little picky, but not precious. This is not a museum acquisition committee.
Use one decision rule for every photo
Irreplaceable, genuinely useful, or part of the story—even if it is not beautiful.
You would show it, print it, or feel happy finding it again.
Accidental, expired, unusable, or clearly worse than another shot.
You are unsure. No courtroom drama required; come back later.
Let Search replace the albums you would never maintain
Photos can search by date, place, business, category, event, identified person, caption, and even text inside an image. Try combinations such as “Chicago snow,” “passport,” or “Maya birthday 2025.” On supported phones with Apple Intelligence enabled, you can also describe the image you are looking for in more natural language.
This is why an album called “Receipts from restaurants I might need later” is unnecessary. Search is better at one-off retrieval. Keep albums for groups you browse repeatedly; let Search handle the weird specifics.
You can also filter the Library to show Favorites, videos, edited photos, or items Not in an Album. And if screenshots are making the main grid feel noisy, use Sort and Filter → View Options to hide them from the Library without deleting anything.
If you have thousands of photos, do not start at the beginning
This is where most tidy little photo guides become slightly ridiculous. “Now organize the rest of your library.” The rest may contain 30,000 photos.
Start with today, or yesterday. Review the newest day first so the pile stops growing. Keep what matters, favorite the best, remove the obvious misses, and let “not sure” be a valid answer. Then—only if you still have the energy—review one older day.
Work backward by days, not forward by years
A day might contain twelve photos. A year contains a problem. Review one old day per day and you handle roughly a year of backlog each year while staying current. It is not dramatic progress, but it is progress that survives a busy week.
Give different years different levels of attention
- Recent years: compare similar shots, remove clutter, and mark favorites.
- Middle years: move faster; keep the obvious gems and stop debating every near-duplicate.
- Older years: consider a treasure pass. Skim for favorites instead of trying to perfect the whole library.
You are allowed to have an imperfect archive. The goal is a library you can use, not a clean-room database.
The routine that keeps it organized
Pick the best of each burst, favorite the real keepers, and remove obvious misses while you still remember what happened.
Give screenshots five minutes. Add a few recent Favorites to broad albums if they truly belong there.
Merge new duplicates, unpin stale collections, and review one pocket of the backlog. Stop before it feels like work.
The boring system wins here. A clever taxonomy is fun to invent and annoying to maintain. Favorites, a few albums, strong Search, and a tiny review habit are enough for most people.
I needed to know what was done—and what wasn’t.
For me, organizing photos felt like a never-ending story. I could review a bunch of pictures, close Photos, and come back a few days later with no clear idea where I had stopped. The library looked exactly the same. I had made decisions, but I couldn’t really see the progress.
I didn’t want an app making personal decisions for me. I wanted something simpler: show me a small part of my library I hadn’t reviewed yet, let me handle it, and remember that it was done.
Two minutes while waiting somewhere. A few minutes before bed. Those little gaps were enough—if they could turn into progress I could actually see.
That became Lumenist. It keeps track of reviewed and unreviewed days, then finds a day that fits the time you have. It isn’t about finishing your entire camera roll in one heroic weekend. I tried that approach. More than once. It is about knowing that one small piece is handled, and coming back whenever another spare minute appears.
One day. Your decisions.
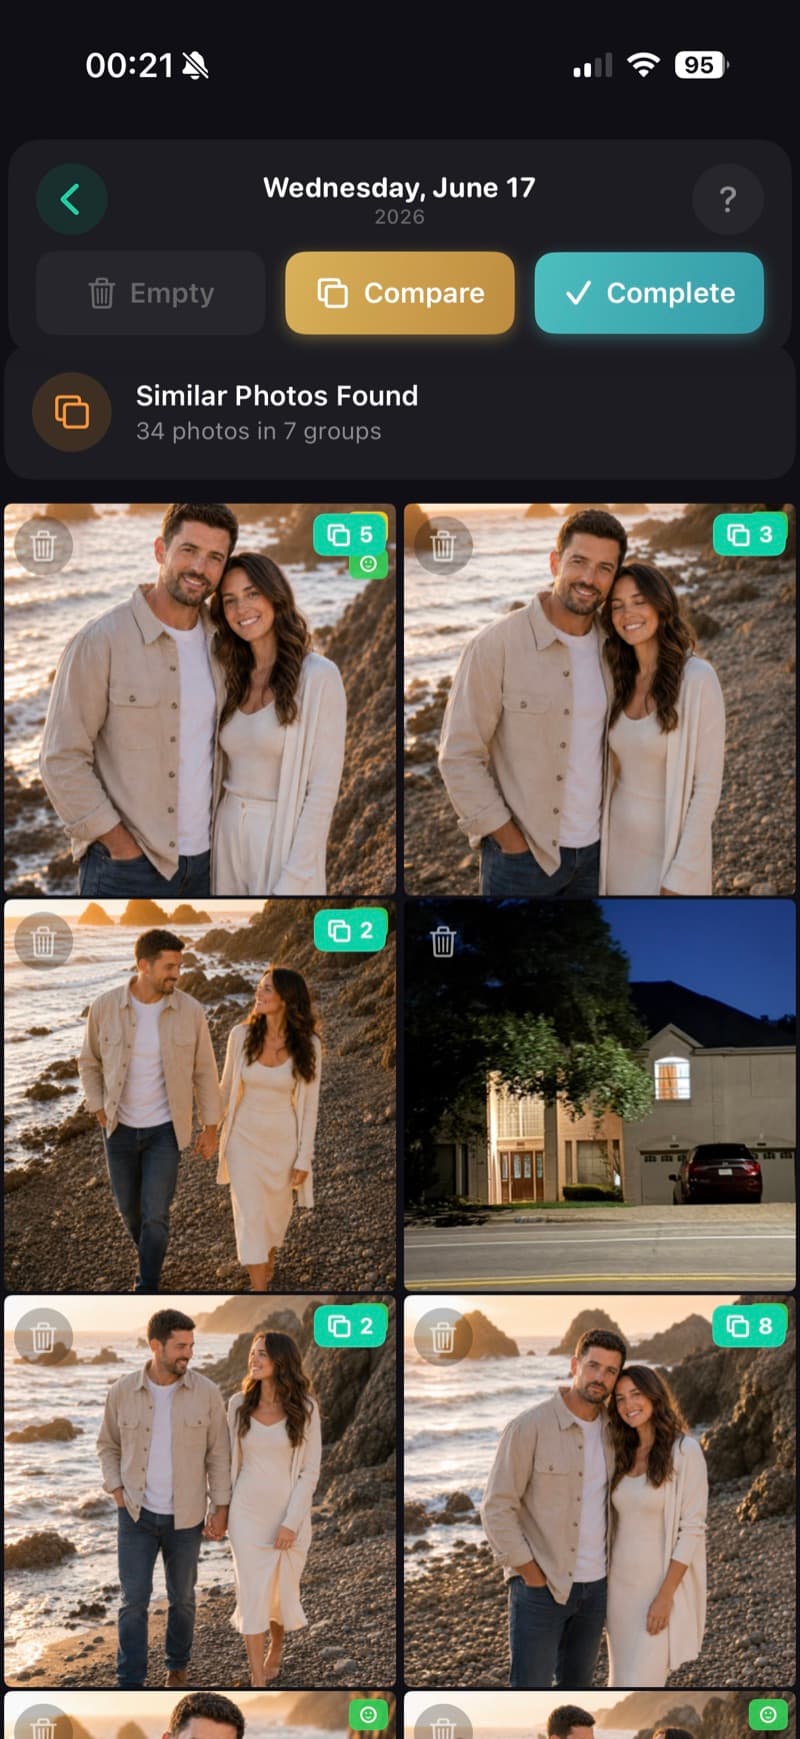
Lumenist opens an unreviewed day that fits the time you have, groups similar photos, and lets you compare them in sync. Nothing is auto-deleted, and your photos stay on your iPhone.
Download Lumenist on the App StoreCommon questions about organizing iPhone photos
What is the best way to organize thousands of photos on an iPhone?
Start with the newest day so the library stops growing, then review one older day whenever you have a few extra minutes. Use Favorites for the best photos, a few broad albums for recurring themes, and Search for everything else.
Does deleting an iPhone photo album delete the photos?
No. Deleting an album you created removes the album, but the photos and videos remain in your photo library and in any other albums where they appear.
Why can't I see the Duplicates collection in Photos?
The Duplicates collection appears only after the Photos app has identified duplicates. Detection happens automatically and can take time, so the collection may not appear when there is nothing ready to merge.
Do albums take up extra storage on an iPhone?
Adding a photo to an album does not create another copy of the image. An album is another way to view the same item in your photo library.
Choose your next step
For more detail, try our album and folder workflow or our small-session approach to thousands of photos.
Apple features referenced in this guide
Interface details were checked against Apple’s current iOS 26 guides for albums, Favorites and Pinned Collections, Search, and duplicates and deleted photos.